
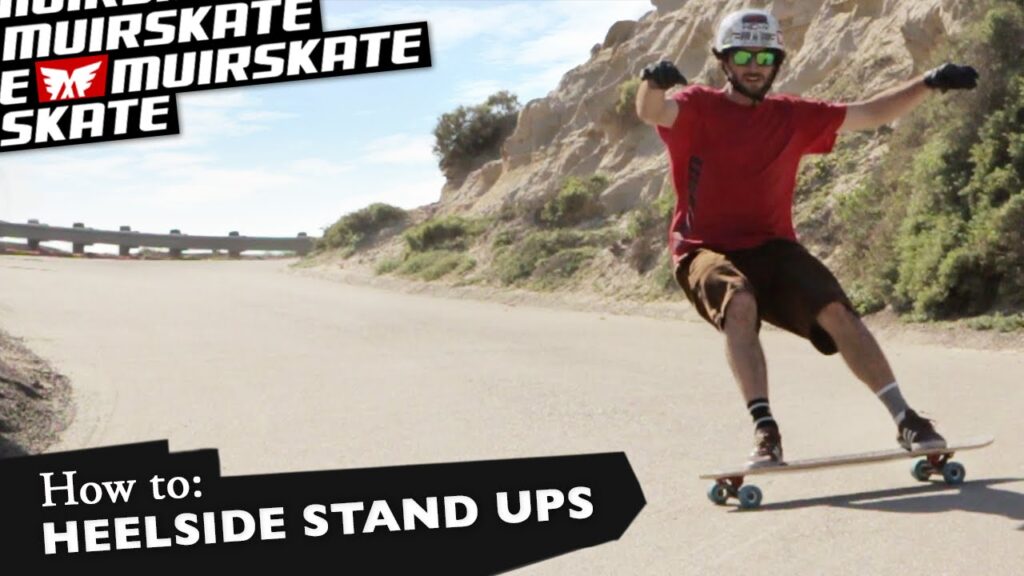
To heel side slide on a longboard, make sure to bend your knees, shift your weight to your front foot, and initiate the slide by pushing your back foot out and turning your shoulders in the opposite direction. Once you feel the board start to slide, use your back foot to control the speed and angle of the slide.
Longboarding is an exhilarating and fun activity that requires some level of skill and practice. One of the most exciting maneuvers to learn is the heel side slide, which involves sliding the board sideways while maintaining control and balance. This technique not only looks impressive but can also be useful in navigating tight corners or avoiding obstacles on the road. To help you master this skill, we have put together some tips and tricks to guide you through the process. Whether you are a beginner or an experienced longboarder looking to improve your technique, keep reading to learn how to heel side slide on a longboard.
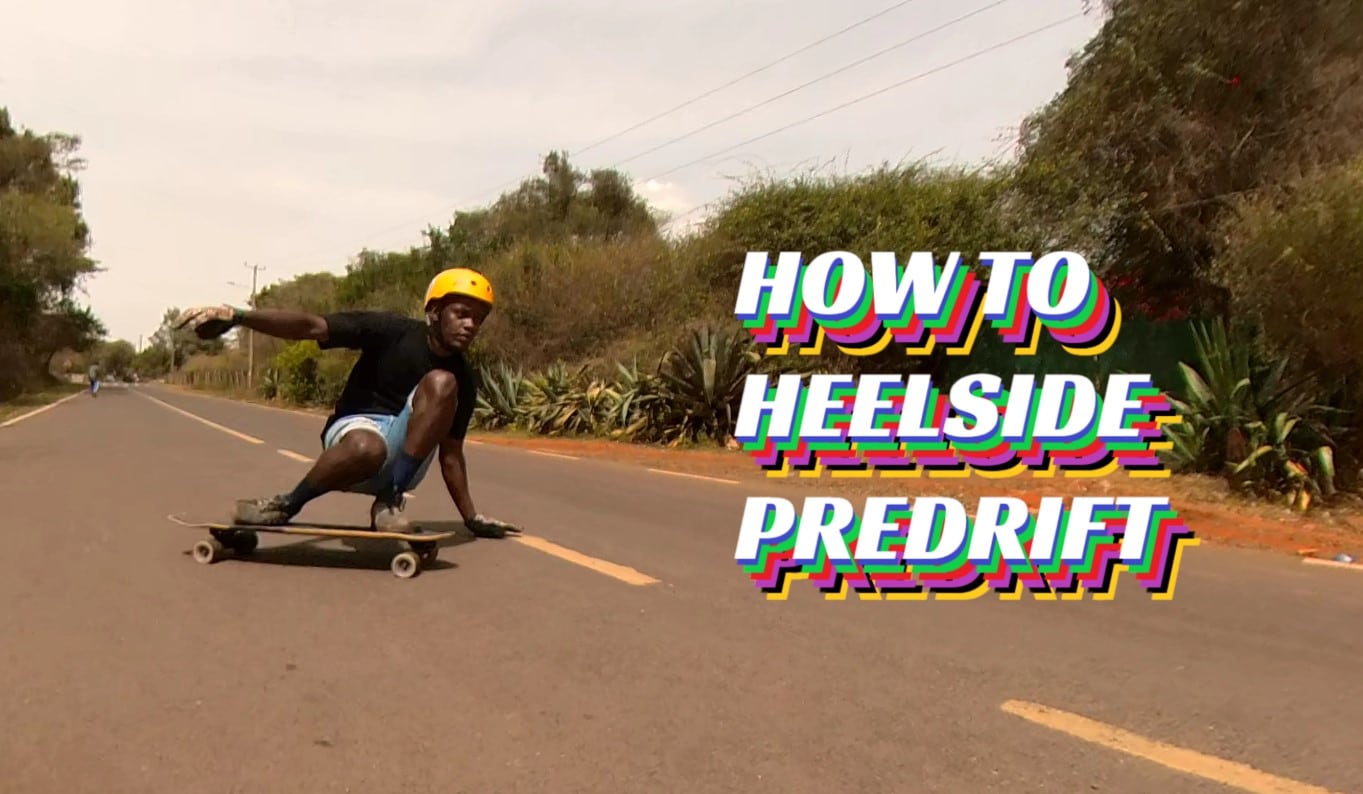
Credit: downhill254.com
Preparation For The Heel Side Slide
Longboarding is a fun and exciting sport that requires some preparation and skills, especially if you want to do the heel side slide. If you’re new to longboarding, you have to master some basic techniques and skills before attempting the heel side slide.
In this article, we’ll walk you through some essential tips and tricks for the heel side slide.
Choosing The Right Longboard And Equipment For The Heel Side Slide
When choosing a longboard for the heel side slide, here are some things to look for:
- A board that is relatively long and has a good width to provide stability and support.
- Wheels that are soft to aid grip and control when sliding.
- Trucks that are dependable and provide good turning ability.
To perform the heel side slide, you’ll need some protective gear.
- A certified helmet to protect your head from injuries.
- Gloves with slide pucks to help you grip the board and control your slides.
- Knee and elbow pads to protect your joints and bones.
Importance Of Wearing Protective Gear While Practicing And Performing The Heel Side Slide
It’s essential to wear protective gear while practicing or performing the heel side slide because falls are inevitable. Protective gear can help reduce the impact of falls and protect you from injuries. Remember, always wear your protective gear before attempting the heel side slide.
Proper Stance And Positioning On The Longboard For The Heel Side Slide
Proper stance and positioning on the longboard are crucial for executing the heel side slide.
- Stand with your feet shoulder-width apart on the board.
- Keep your knees bent and your core engaged to maintain balance and stability.
- Place your back foot over the tail of the board, and your front foot should point towards the front of the board with a slight angle.
Basic Longboarding Techniques And Skills That Riders Should Master Before Attempting The Heel Side Slide
Before attempting the heel side slide, riders must master some basic longboarding techniques and skills to ensure their safety and success.
- Proper foot braking techniques to control speed and stop on the board
- Mastering carving, which involves making turns using your body weight and body position
- Understanding how to shift your weight to control the board’s direction and speed
By mastering these techniques, you’ll gain more control over the board and increase your chances of successfully performing the heel side slide.
Mastering the heel side slide requires preparation, practice, and patience. By choosing the right longboard, wearing protective gear, maintaining proper stance and body positioning, and mastering basic longboarding techniques, you’ll be ready to perform the heel side slide like a pro.
So get out there, have fun, and keep practicing!
Step By Step Guide To Performing The Heel Side Slide
Longboarding is one of the most exciting and fun-filled outdoor activities out there, and learning how to perform a heel side slide can elevate the overall experience to a whole new level. However, it can be intimidating for beginners who are just starting their journey.
In this blog post, we’ll take a closer look at the steps involved in performing the heel side slide and how riders can safely and correctly execute them.
Explanation Of The Steps Involved In Performing The Heel Side Slide
Before diving into the details of the heel side slide, it’s important to understand what it is. A heel side slide is a longboarding trick where the rider slides the board on its wheels perpendicular to their direction of travel, using the edge on the board’s heel area.
- Initial setup: start by standing on the board with your feet shoulder-width apart, with your back foot on the tail of the board and your front foot pointing straight. Your weight should be on the front foot, and your back foot should be angled outward slightly.
- Pre-slide turn: turn your hips and shoulders away from the direction of the slide, so your body is at a 45-degree angle to the board. This position helps you initiate the slide.
- Slide: as you start to turn, quickly and forcefully shift your weight to your back foot, and lean back slightly. As you do this, push down with your back foot to start the slide, lifting your front foot off the board slightly.
- Recovery: as you complete the slide, quickly shift your weight back to your front foot, and bring your board back to its normal position.
Details On Each Step Of The Process And How Riders Can Perform Them Correctly And Safely
- Initial setup: ensure that your feet are placed on the board in the correct position i. E. , your front foot should be facing forward, and your back foot should be angled outward slightly. Your weight should be on the front foot, and your back foot should be positioned on the tail of the board.
- Pre-slide turn: this step is crucial in initiating the slide. Your hips and shoulders should be facing away from the direction of the slide, so your body is at a 45-degree angle to the board. This position helps you generate the momentum needed to initiate the slide.
- Slide: when pushing down with your back foot, ensure that you maintain your balance while lifting your front foot off the board. It is essential to keep the slide going for long enough to get the full effect without losing control.
- Recovery: this step is all about regaining control and returning to a stable position. Quickly shift your weight back to your front foot and bring your board back to its normal position, ensuring that the wheels are parallel to your direction of travel.
Common Mistakes And How To Avoid Them While Performing The Heel Side Slide
As with any new skill, it’s common to make mistakes when learning how to perform the heel side slide.
- Leaning too far back when initiating the slide, which can cause you to lose balance and fall.
- Not committing enough to the slide, resulting in a short slide and an unstable recovery.
- Failing to move your weight back to your front foot quickly enough during the recovery phase, which can throw off your balance and lead to a fall.
Avoiding these mistakes is crucial to executing the heel side slide safely and correctly. Start by practicing the steps slowly, then gradually increase your speed as you become more confident in your skills.
Tips And Tricks For Riders To Improve Their Heel Side Slide Technique And Make It More Stylish And Smooth
Once you’ve mastered the basics of the heel side slide, you can start working on improving your technique to make it more stylish and smooth.
- Practice, practice, practice: repetition is key when it comes to improving your technique. Focus on practicing the steps involved in the heel side slide until they become second nature.
- Work on your body positioning: as you become more experienced, experiment with different body positions to see which feel most comfortable for you. Try different foot positions and angles to see how they affect your slide.
- Find your own style: the heel side slide is a versatile trick, and there are many ways to make it your own. Play around with speed, slide duration, and recovery methods until you find a style that suits you.
Performing a heel side slide on a longboard is all about staying safe, starting slowly, and focusing on the steps involved in each stage of the process. With practice, patience, and the right technique, you can master this trick and make it your own.
Learn to Slide Your Longboard
Advanced Techniques For The Heel Side Slide
Heel side sliding is one of the most exhilarating methods of riding a longboard. It’s a maneuver that can be achieved with a little practice, and it is the perfect trick for experienced riders who want to take their skills to the next level.
In this article, we will discuss advanced techniques for the heel side slide, including downhill heel side slides, drift heel side slides, parallel slides, and more. We will also offer tips and tricks for riders to practice and master these techniques safely and effectively.
Explanation Of Advanced Heel Side Slide Techniques That Experienced Riders Can Use To Take Their Riding Skills To The Next Level
There are various advanced techniques that experienced riders can use to improve their heel side slide.
- Downhill heel side slide: this technique involves setting up for a slide while descending a hill. The rider leans into the slide, dragging the back wheels sideways down the hill, causing the board to slide. The speed at which the rider descends the hill and the angle of the slide can cause the board to drift or come to a stop. This technique is suitable for advanced riders who are comfortable riding at high speeds and have excellent balance and control over their longboard.
- Drift heel side slide: this slide involves drifting the board around a corner or bend. The rider initiates the slide by kicking out the tail of the board, causing it to lose traction. The rider then leans into the slide, using their weight to control the angle and speed of the slide.
- Parallel slide: this slide involves sliding the board parallel to the direction of movement. The rider initiates the slide by leaning back, causing the back wheels to lose traction. The rider then leans forward, causing the front wheels to lose traction, and the board starts to slide. The rider uses their weight to control the angle and speed of the slide.
Examples Of These Advanced Techniques, Such As Downhill Heel Side Slides, Drift Heel Side Slides, Parallel Slides, And More
Here are some examples of how to perform these advanced techniques:
- Downhill heel side slide: to perform this slide, the rider needs to be comfortable riding downhill at high speeds. The rider crouches low on the board, maintaining a low center of gravity. Approaching a bend, the rider shifts their weight to the back of the board, initiating the slide by kicking out the tail. The rider then leans into the slide to control its angle, and the board drifts around the bend.
- Drift heel side slide: to perform this technique, the rider approaches a corner and shifts their weight to the back of the board, initiating the slide by kicking out the tail. The rider then leans into the slide, using their weight to control its angle and speed. As the rider exits the turn, they shift their weight forward to regain traction on the board.
- Parallel slide: to perform this slide, the rider needs to be riding at moderate speeds. The rider begins by leaning back, causing the back wheels to lose traction. The rider then leans forward, causing the front wheels to lose traction, and the board starts to slide. The rider uses their weight to control the angle and speed of the slide.
Tips And Tricks For Riders To Practice And Master These Advanced Techniques Safely And Effectively
Here are some tips and tricks for riders to practice and master these advanced techniques safely and effectively:
- Practice the basics first: before trying any advanced technique, riders should master the basics of heel side sliding.
- Wear protective gear: riders should always wear a helmet, knee pads, elbow pads, and wrist guards when attempting advanced techniques.
- Find a suitable location: riders should practice these techniques in a safe environment, such as an empty parking lot or skate park.
- Start slow and work up: riders should start slow and gradually increase their speed and angle of the slide over time.
- Use your weight to control the slide: riders should use their weight to control the angle and speed of the slide.
- Stay relaxed: riders should stay relaxed and calm while sliding, avoiding tense muscles that can cause them to lose balance.
- Have fun: most importantly, riders should have fun while practicing these techniques and not get discouraged if it takes some time to master them.
By following these tips and practicing regularly, riders can take their heel side slide to the next level and add a new level of excitement to their longboarding experience.
Safety Measures And Precautions
Longboarding is becoming an increasingly popular sport, with more and more people attempting to perform the heel side slide. Although this trick looks flashy and enjoyable, it has considerable risks associated with it. Riders must take specific safety measures and precautions to keep themselves safe while enjoying the thrill of the ride.
In this guide, we’ll discuss the potential hazards related to the heel side slide and share tips on how to minimize them.
Explanation Of The Potential Risks And Hazards Associated With The Heel Side Slide And How Riders Can Minimize Them
Some potential risks and hazards are associated with performing the heel side slide on a longboard, including:
- Injuries from falls or collisions with obstacles
- Loss of control leading to accidents
- Damage to the board or other equipment
Here are some ways that riders can minimize these hazards:
- Wear protective gear, such as a helmet, knee and elbow pads, and gloves.
- Practice the heel side slide in an open, controlled environment with no obstacles or hazards nearby.
- Check and maintain the board’s condition regularly, such as tightening the trucks and replacing worn-out wheels.
Importance Of Taking Necessary Safety Precautions While Practicing And Performing The Heel Side Slide
Taking the necessary safety precautions while practicing and performing the heel side slide is of utmost importance to prevent accidents.
- Injuries can occur due to falls or collisions with obstacles at high speeds, leading to long-term disabilities or fatalities.
- Longboarding is an extreme sport that requires riders to take necessary steps to ensure their safety.
- Adhering to safety measures not only protects you but also others around you from potential harm or injury.
Information On How To Identify And Avoid Dangerous Riding Conditions And Situations That May Lead To Accidents Or Injuries
Riders must be mindful of dangerous riding conditions and situations that can lead to accidents or injuries while performing the heel side slide.
- Uneven terrain, such as potholes, cracks, and bumps
- Wet or slippery surfaces
- Riding near traffic or people
Here are some ways to avoid these hazardous conditions:
- Scout the area for potential risks before riding, such as inspecting the surface conditions and identifying any obstacles.
- Avoid riding during inclement weather or when the surface is wet or slippery.
- Choose a location with minimal traffic and people around when practicing the heel side slide.
The heel side slide is an exciting move in longboarding, but it comes with considerable risks and hazards. Riders should take the necessary safety precautions and be aware of hazardous riding conditions to minimize the potential for accidents and injuries.
Remember to wear appropriate protective gear, practice in a controlled environment, and regularly check and maintain the board’s condition to keep yourself and others around you safe.
Conclusion
After reading this post, you have gained enough knowledge to try the heel side slide on a longboard. Remember to wear all the safety gear and start practicing in a safe environment. It might take some time and patience to master this technique, but with continuous practice, you’ll be able to slide like a pro.
Keep in mind the proper stance, weight distribution, and shifting techniques while performing slides. This will help you maintain balance and control. Also, experiment with different surfaces and speed to achieve varied results. Don’t forget to have fun and enjoy the process of learning something new.
With time, you can even progress to more challenging slides and maneuvers. We hope these tips were helpful to you and happy sliding!